How to Make an Origami Heart : Step-By-Step Instructions
If you’re wondering how to make an origami heart, you’ll learn it easily with these step-by-step origami instructions.
Making an origami heart is an elegant and meaningful gift. Your friends or loved ones will love this origami gift! Once you learn the basic steps of making an origami heart, you can use this skill to add a personal touch to a loved one or special event.
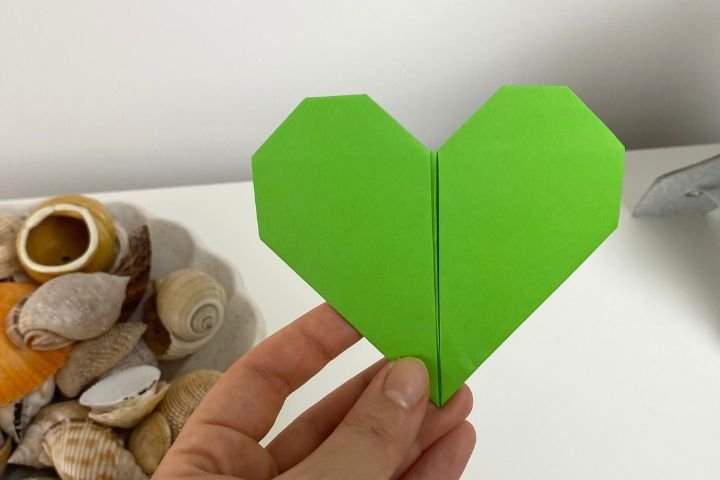
Paper size: 20×20 cm
Steps: 11
Difficulty: Easy
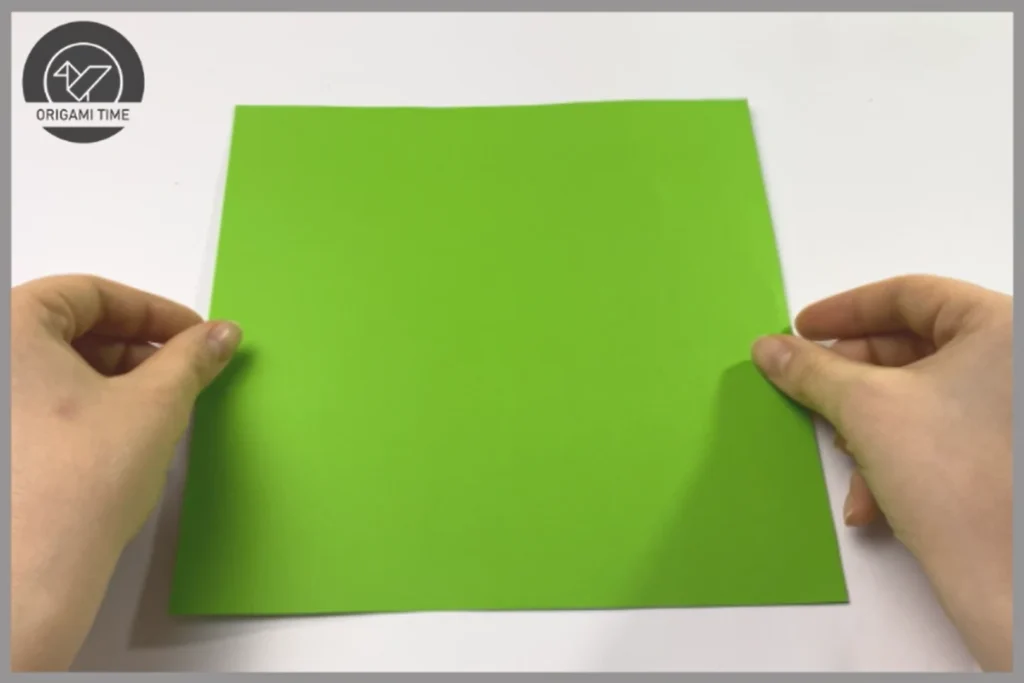
Step 1: Let’s start by taking a square piece of paper. I used 20×20 paper. You can use square paper of any size you want. How to square paper?
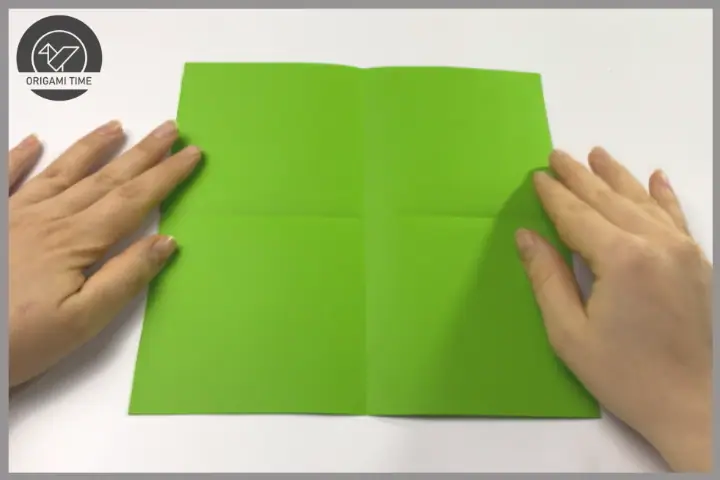
Step 2: Fold the paper in half horizontally, then vertically. Make the folds clear by going over them. Initial folds are important to ensure your model is neat.
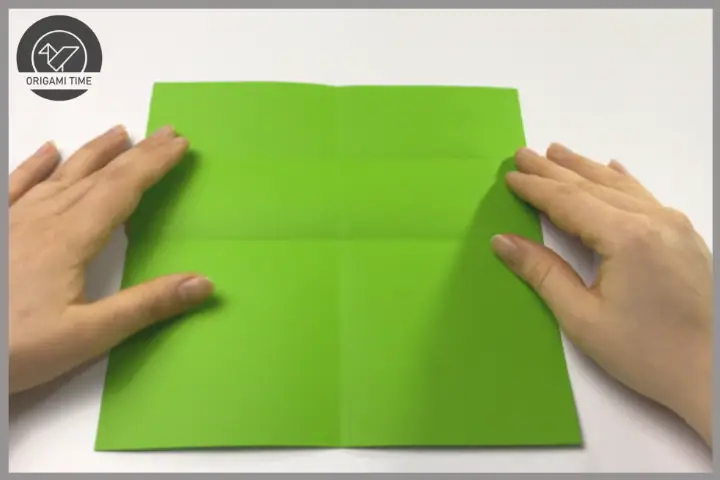
Step 3: Fold the top half of the paper in half again.
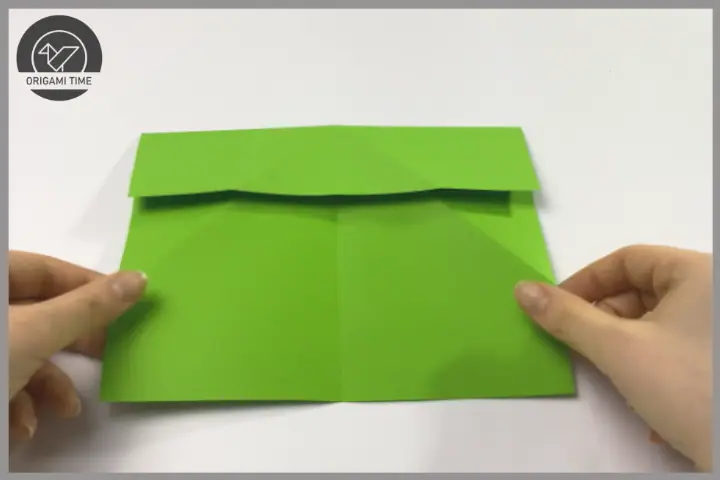
Step 4: Turn the origami paper over. Then fold the right and left corners towards the middle. Make sure the folds are symmetrical.
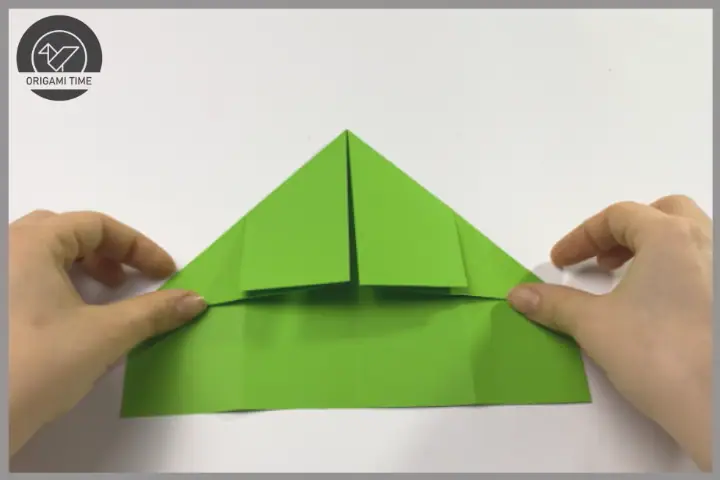
Step 5: Turn the paper over again. Fold the bottom right and bottom left edges toward the center line as shown.
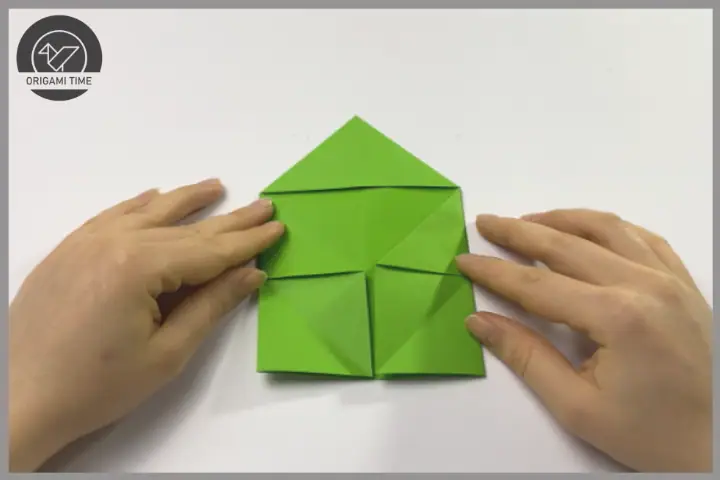
Step 6: Fold the right and left pieces in half from the corners inwards. In this step, you can go over all the folds and strengthen them. This way the Origami heart will look more beautiful.
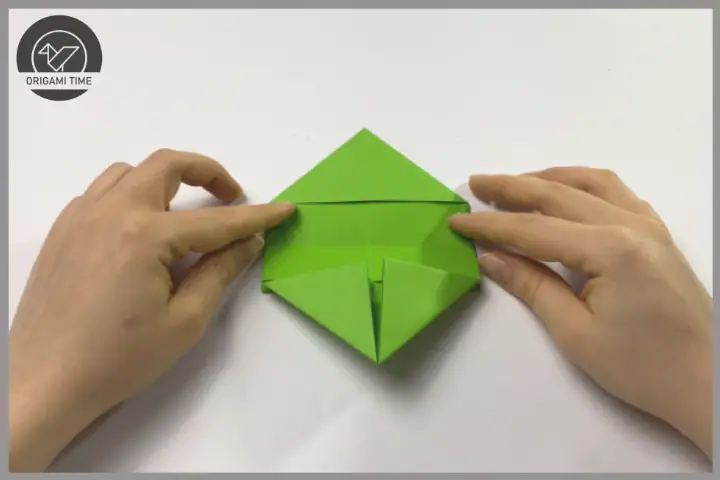
Step 7: This part can be a little challenging. Fold the paper by aligning the two ends.
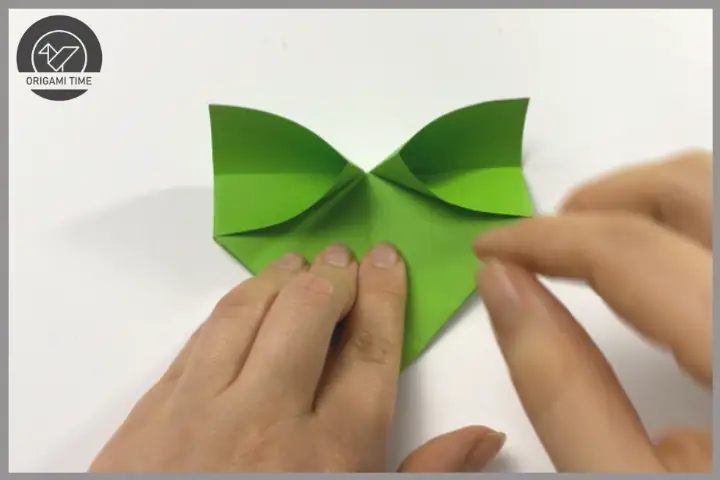
Step 8: Hold the paper with your left hand. Then fold the right side as shown. Repeat the same steps for the other side.
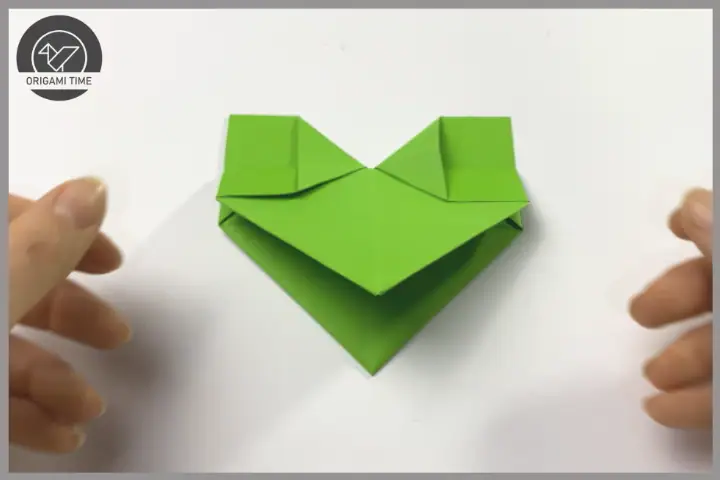
Step 9: Lift the top part slightly and place it in the space below.
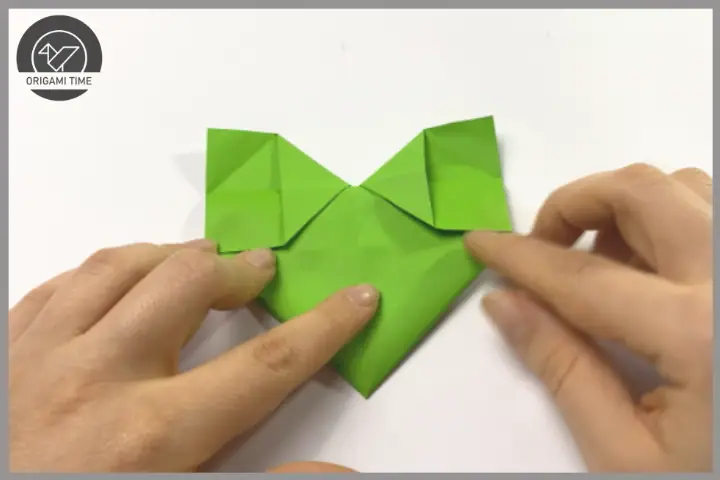
Step 10: Last little touches :)
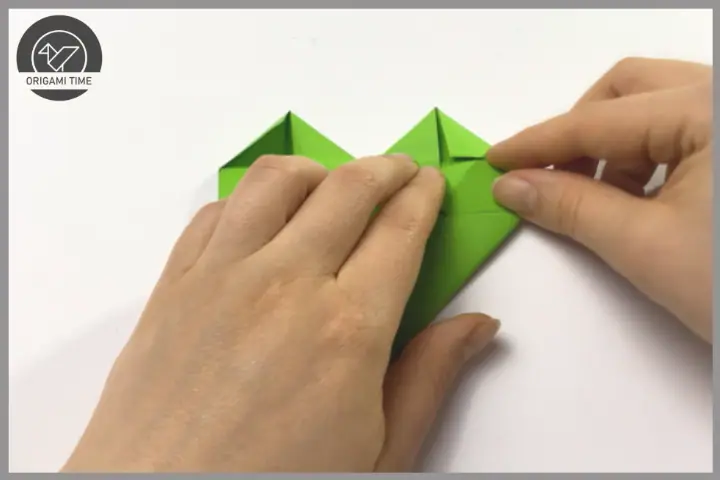
Step 11: Fold a very small piece of the top inwards.
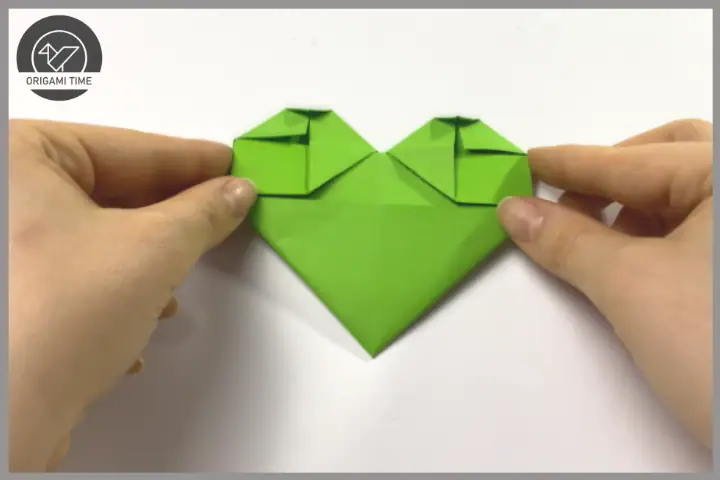
Congratulations, you have completed the origami heart making steps. If you are doing it for the first time, small mistakes are normal. Review your model and redo it. You will see that it is better than before. See you in the next orgami model…