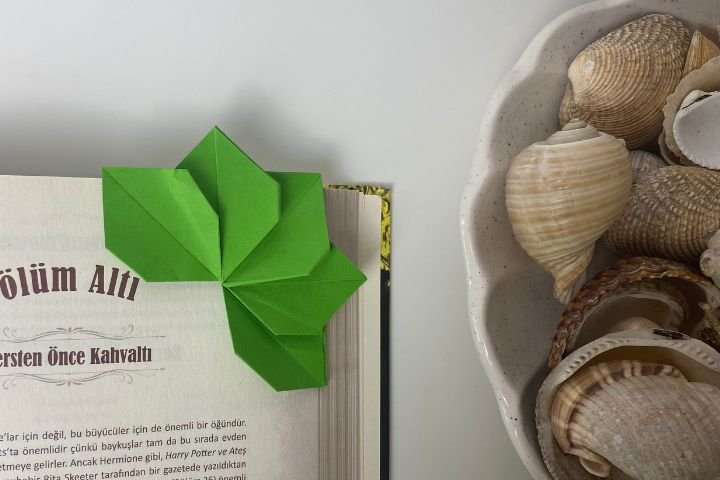
How to Make an Origami Bookmark | Corner Bookmark DIY
You will find simple steps to make a origami bookmark from an ordinary piece of paper. All steps are explained step by step with animations. Making origami bookmarks is both fun and useful. This small but useful accessory is a perfect option for marking the pages of the books you are reading.
Paper size: 20×20 cm
Steps: 11
Difficulty: Easy
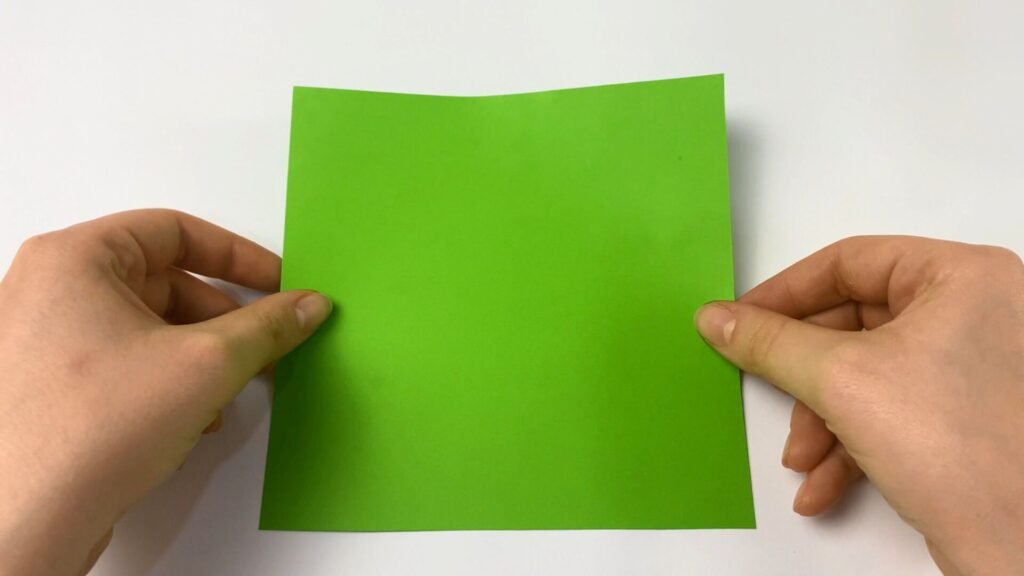
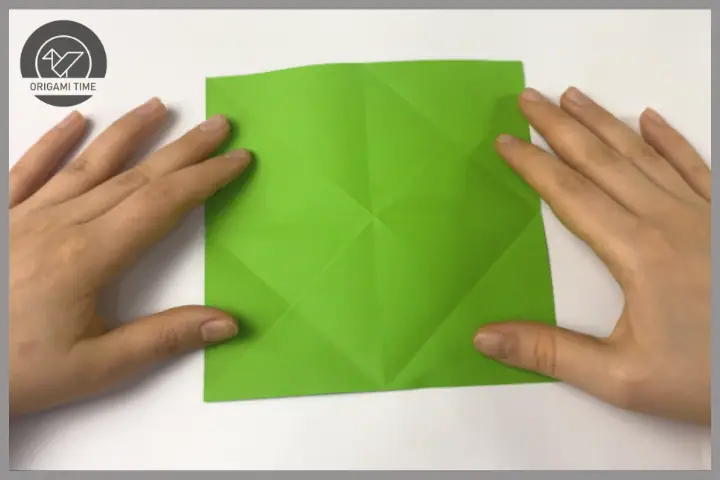
Step 1: Let’s start by taking a square piece of paper. If you don’t have a square piece of paper on hand. You can learn how to do it from this Link.
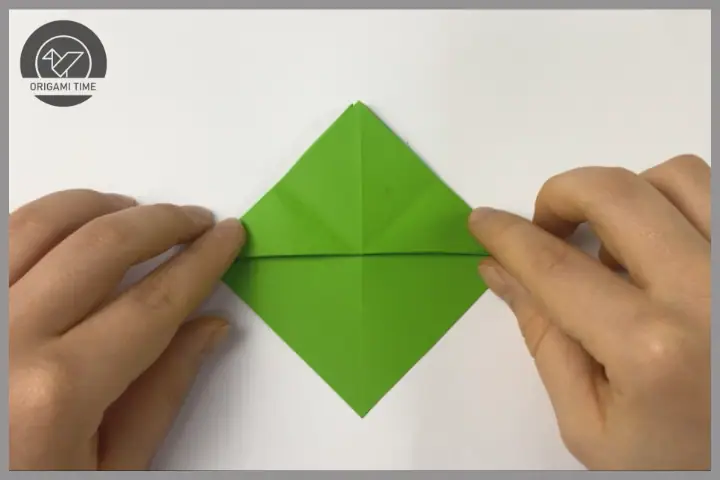
Step 2: Fold both corners of the paper as shown.
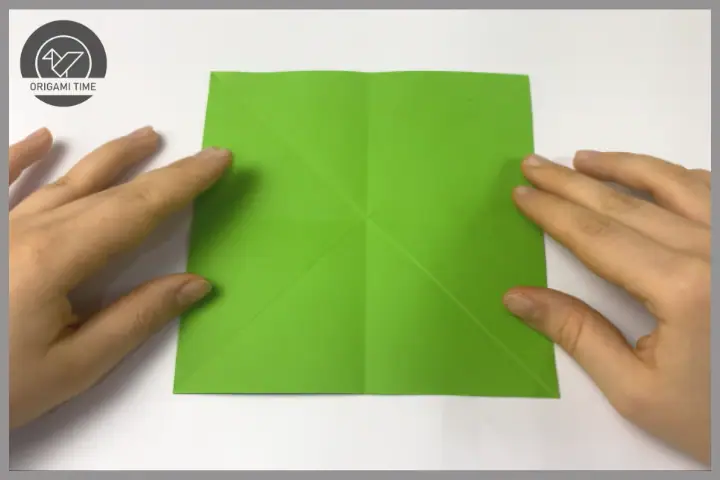
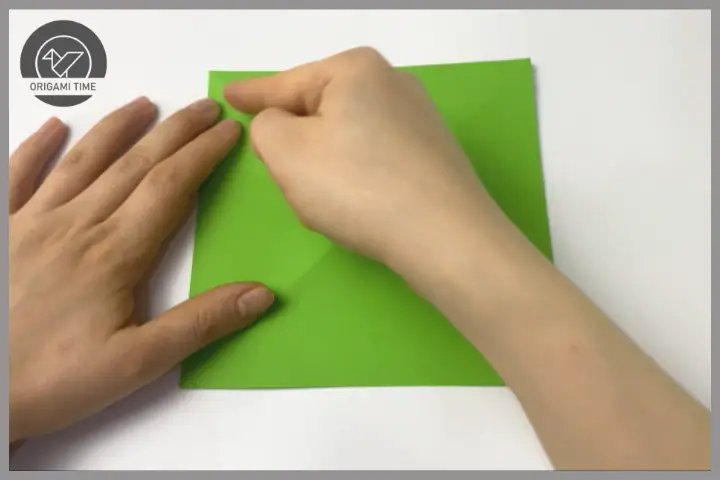
Step 3: First fold the paper in half, then open the paper and fold the other side in half.
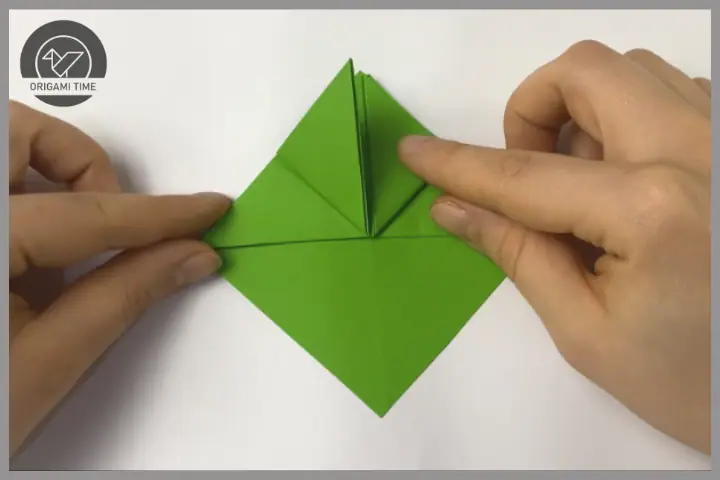
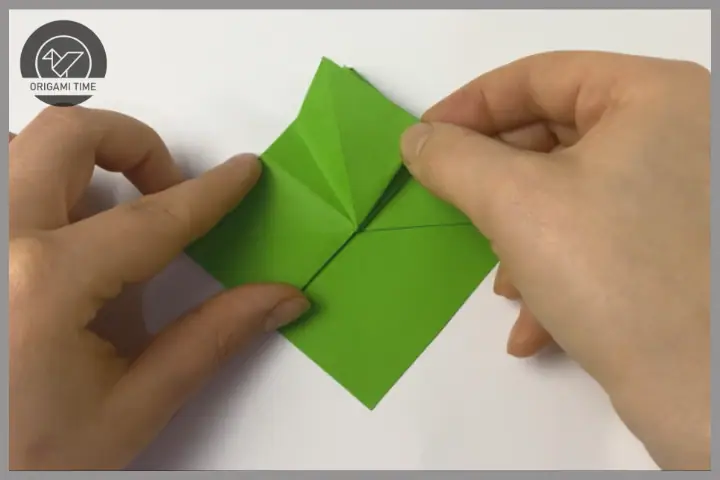
Step 4: Bending its 3 corners to the midpoint as shown. You can go over the folds and strengthen them.

Step 5: In this step, pick up the paper from the table. Fold as shown, supporting the bottom with your fingers.
Step 6: Fold the right and left parts upwards.
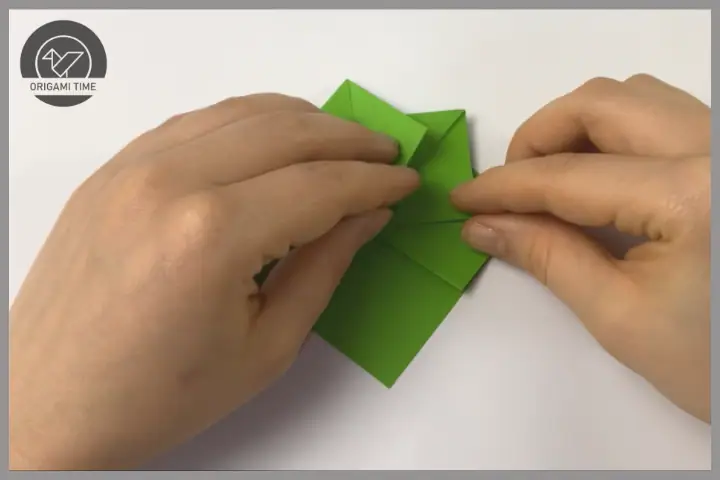
Step 7: Follow this step carefully.
Step 8: Fold it to the line at the top. Then fold to the newly formed line.

Step 9: Follow this step as shown.
Step 10: Fold each piece inward slightly.

Step 11: Congratulations, you have completed the steps of making paper bookmarks. See you in the next paper art