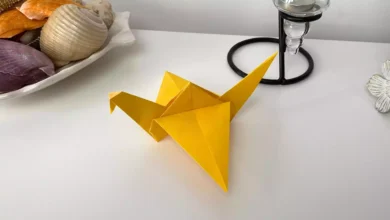
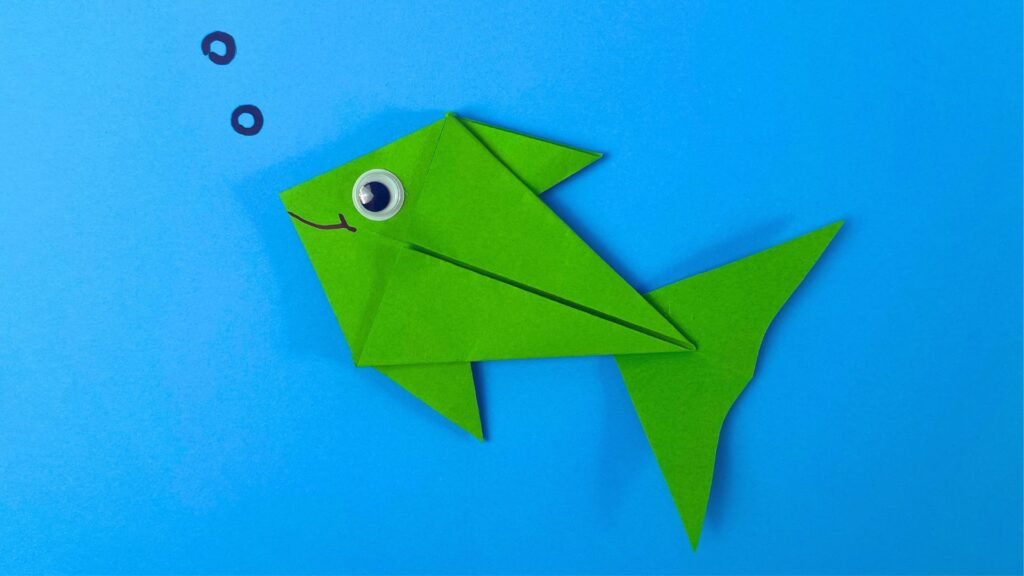
How to Make an Origami Fish | Origami for Kids
You will learn how to make Origami Fish in this step by step guide. By following simple steps, you can have a fun origami experience with your children. Origami is known as the art of paper folding and is a great craft activity for kids. In this Content, you will learn step by step how to make an origami fish in simple steps. You can try this fun activity where your children will have a good time and improve their manual skills.
Paper size: 20×20 cm, 7.5 cm.
Steps: 13
Difficulty: Easy
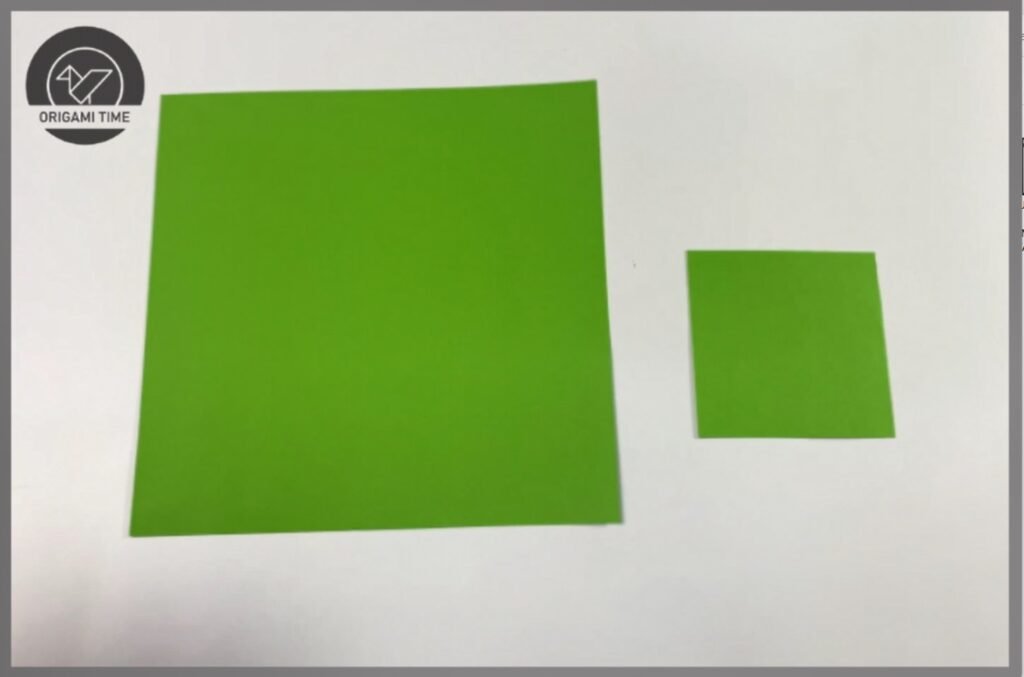
Step 1: Let’s start by purchasing two pieces of paper measuring 20×20 cm and 7.5×7.5 cm.
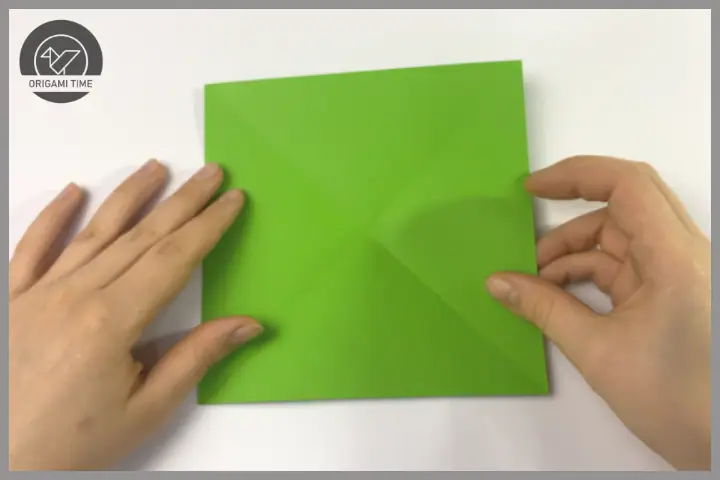
Step 2: fold from top to bottom and bottom up from the middle
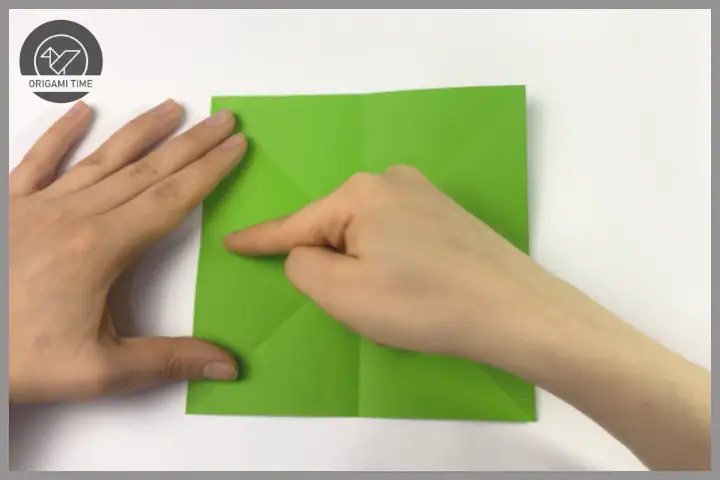
Step 3: Turn the paper over. Fold first from top to bottom, then from right to left.

Step 4: Hold the right and left ends of the paper and fold it inwards. You can support the upper part with your hand.
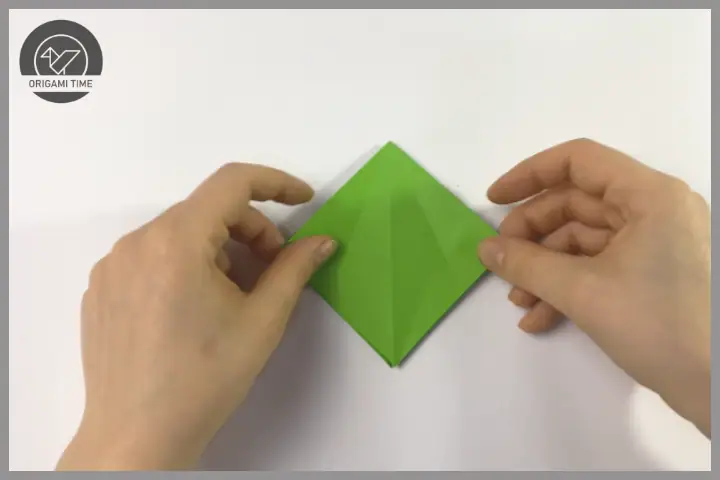
Step 5: Fold both sides to the center line. Turn the paper over and follow the same procedure.
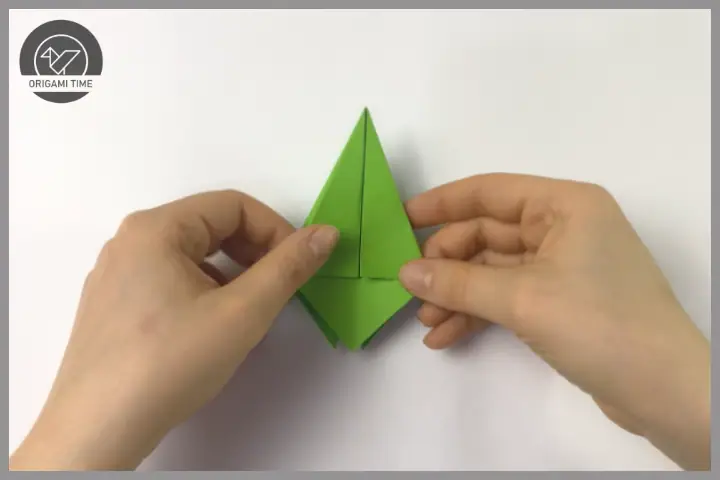
Step 6: We create the fins of the origami fish. Hold the paper as shown. Separate both parts outward
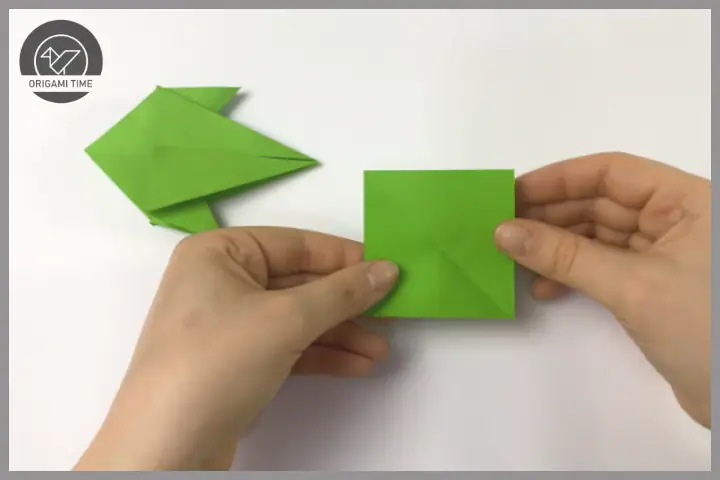
Step 7: Take the small piece of paper and fold it in half at the corners.

Step 8: Cut it in half with the help of scissors.
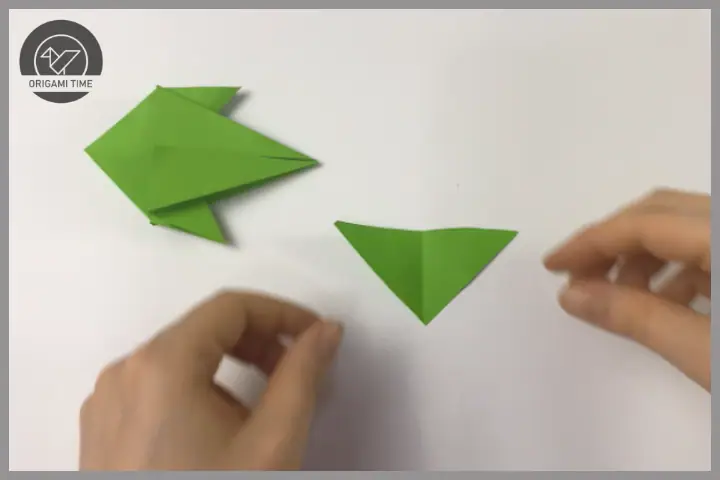
Step 9: Cut another piece to give a slight curve to the tail
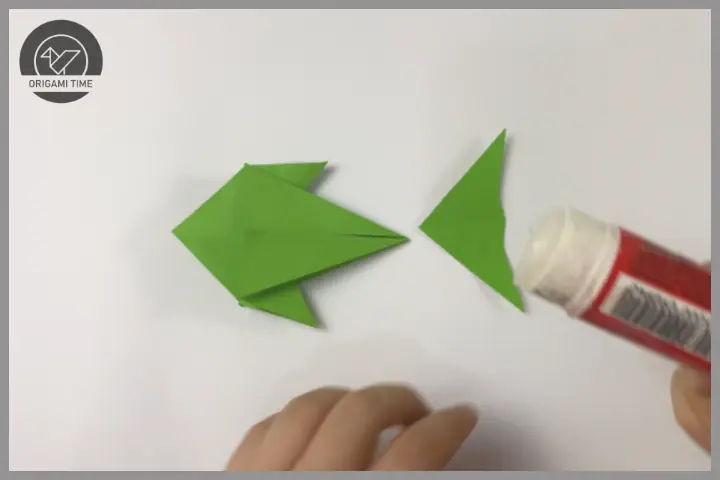
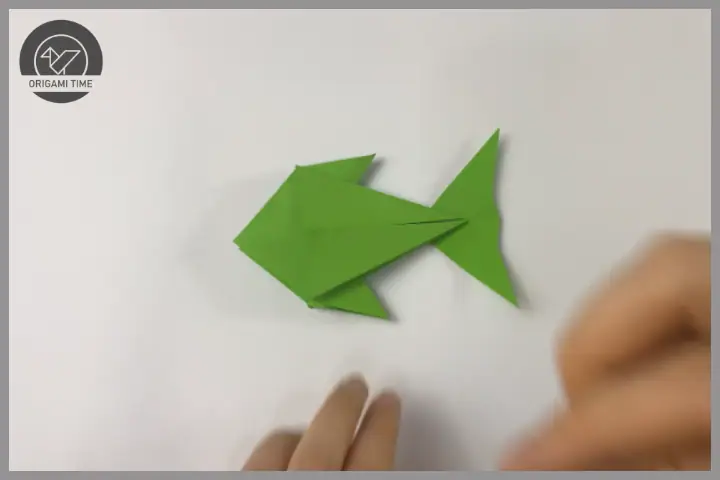
Step 10: We can glue the tail to the body.
Step 11: You can draw eyes on the origami fish with a pencil, or you can make an eye and glue it on as shown.
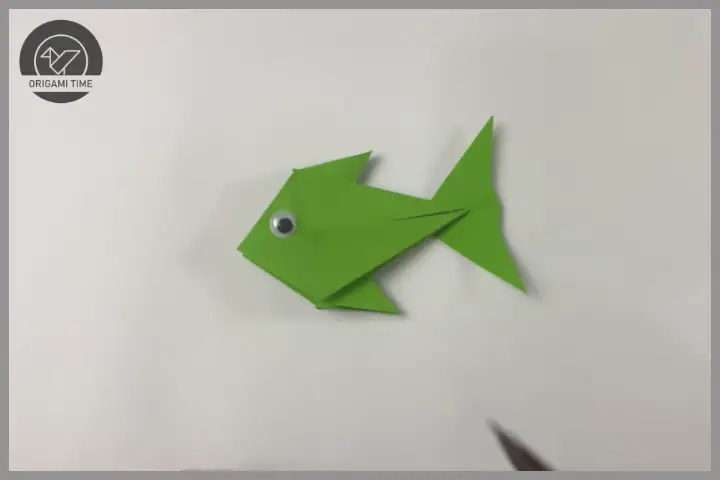
Step 12: