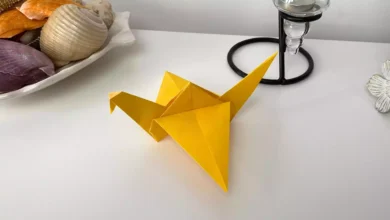
How To Make an Origami Bird | 13 Steps
Let’s learn together how to make an origami bird step by step! Each step is explained with animations so that you can understand clearly and easily.
Once you complete this tutorial, you will see that you can create an amazing origami bird using just simple paper. If you are ready, let’s discover the intricacies of making origami birds and enjoy creating a wonderful work of art with your own hands!
Paper size: 20×20 cm
Steps: 13
Difficulty: Easy
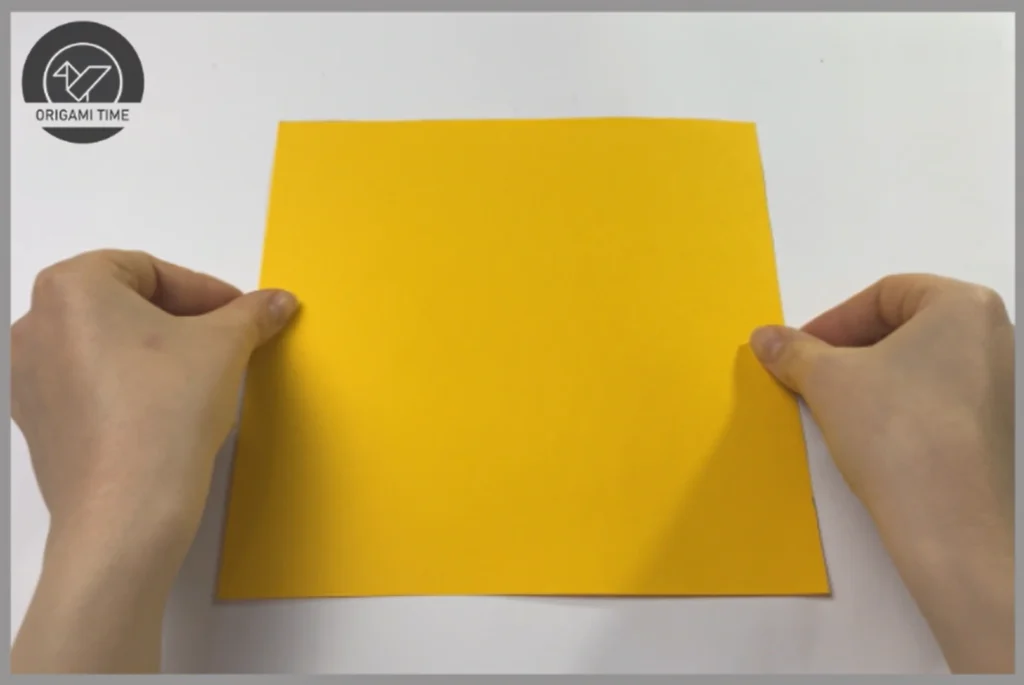
Step 1: Let’s start with a piece of paper measuring 20×20. How to make square paper?
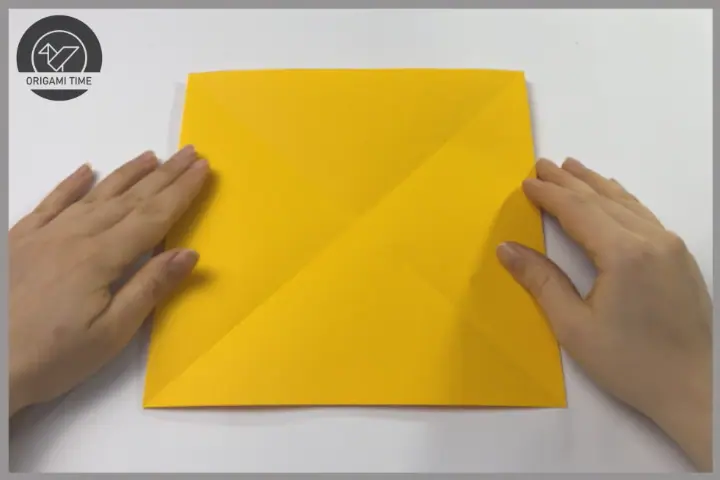
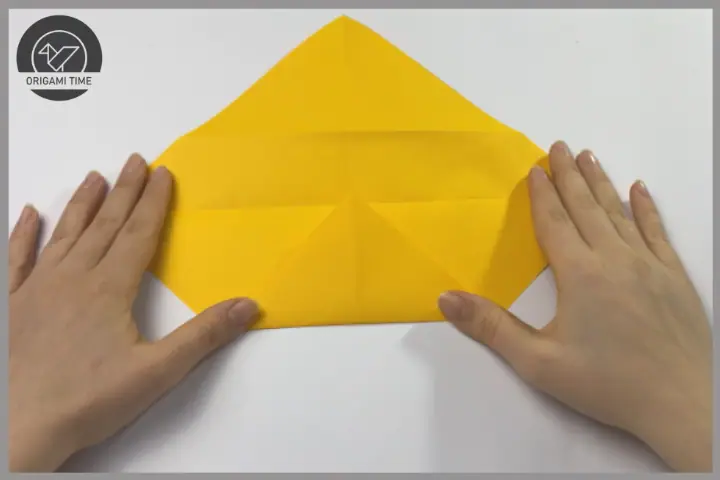
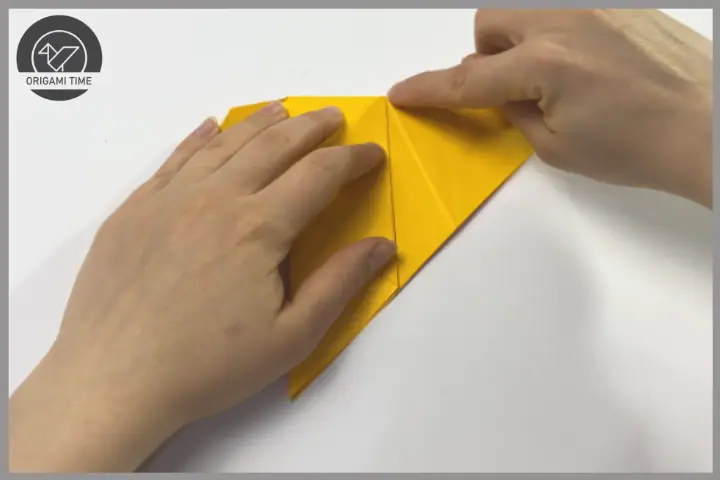
Step 2: Fold both corners as shown. Make sure the first folds are symmetrical

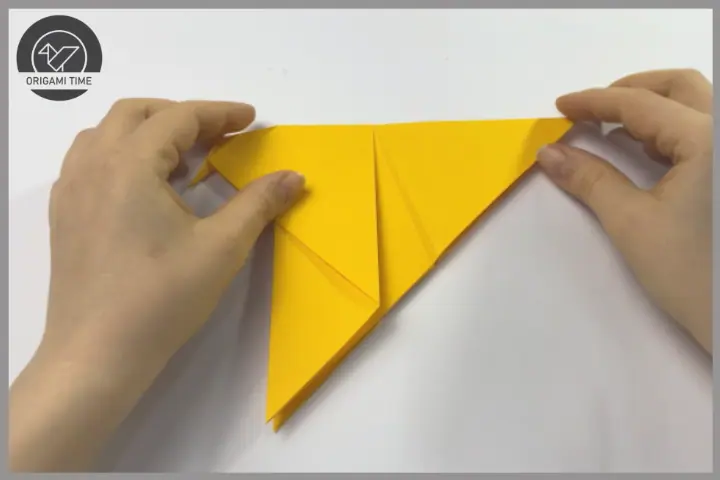
Step 3: Open the paper. Fold the lower part to the middle point.
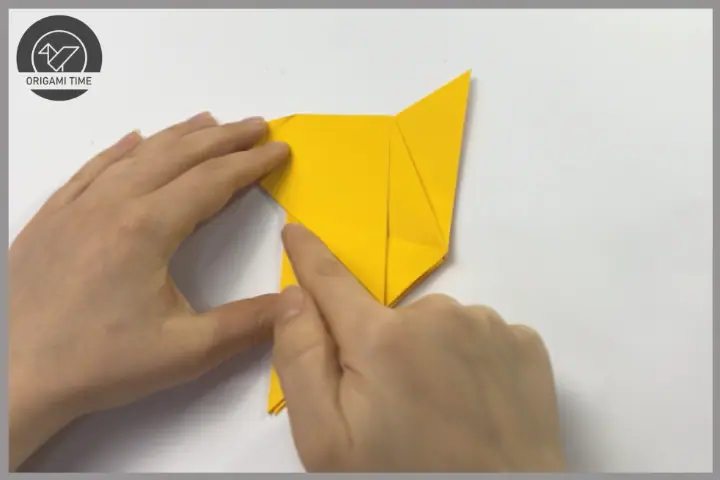
Step 4: Open the paper again. Fold it exactly in half. Fold back from the center point as shown. You should get the shape shown.
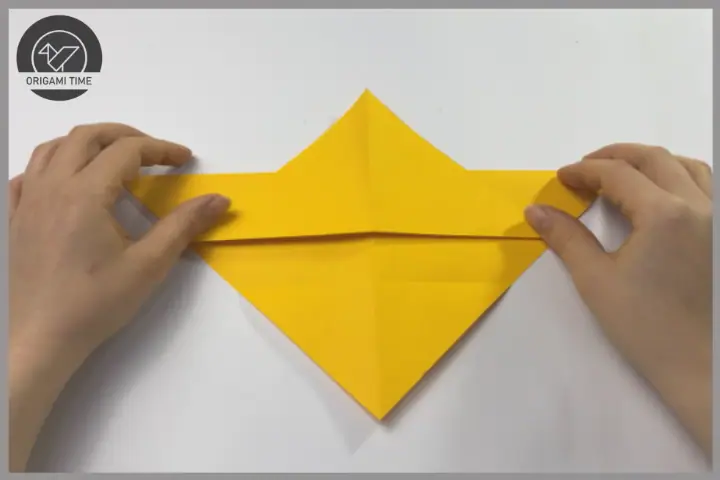
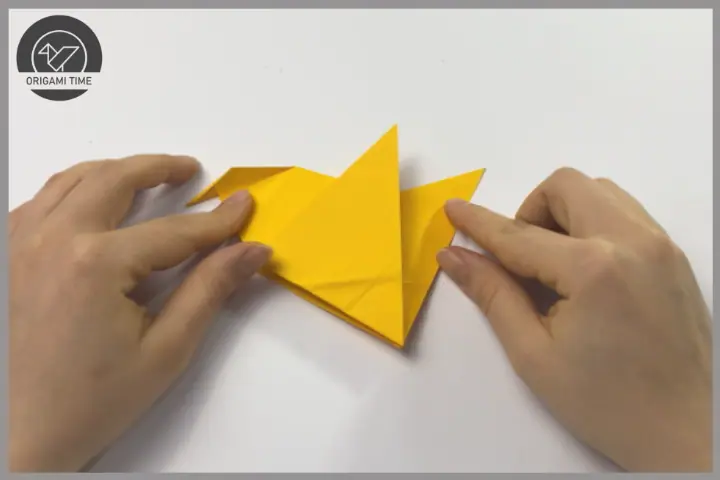
Step 5: Take the paper from the table and fold it in half inwards. In this step, you can correct the non-symmetrical parts of your paper. This will make your origami model look more beautiful.
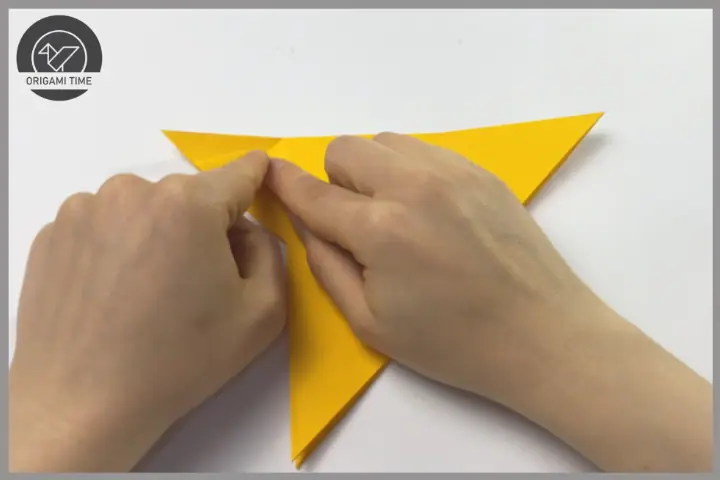
Step 6: We create the head of our origami bird. follow this step carefully. First a diagonal fold, then a second inward fold
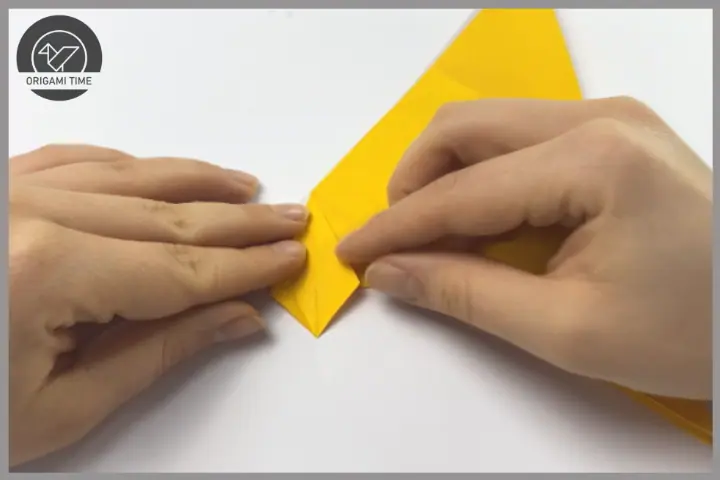
Step 7: Fold the right and left parts of the paper to the middle.

Step 8: Close it so that the parts we folded in the previous step remain on the inside.
Step 9: Origami bird nearing completion. Fold as shown. Turn the paper over and fold it again.
Step 10: Fold the part we folded in step 9 inwards.
Step 11: The origami bird is about to flap its wings! Now let’s create the wings. Fold upwards along the line shown. Turn the paper over and fold the other side.
Step 12: Fold the bottom as shown. Apply for both sides.

Step 13: Let’s include the folds we made in step 12.

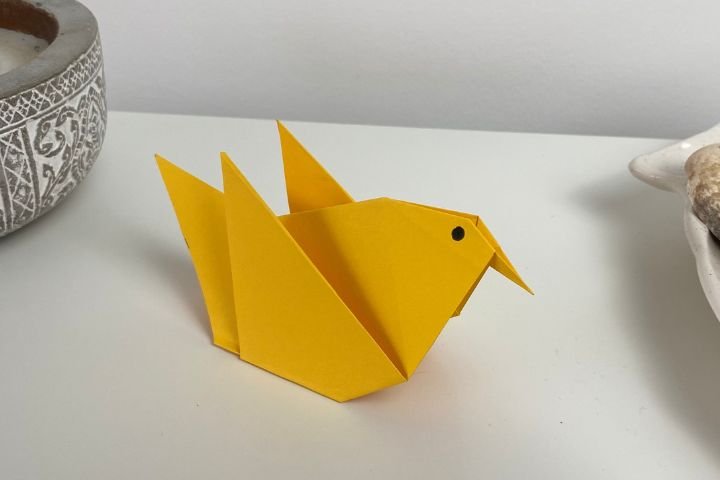
Our origami bird model is completed. See you in the next origami :)