How to Make an Origami Envelope| DIY Paper Envelope
In this step-by-step guide, we’ll show you how to make your own paper envelope at home. Origami envelopes offer a fun and creative way to send your letters or gift cards. You can personalize your envelope and add a special touch by using just a few simple folding techniques. If you’re ready, let’s start!
Paper size: 20×20 cm
Steps: 13
Difficulty: Easy
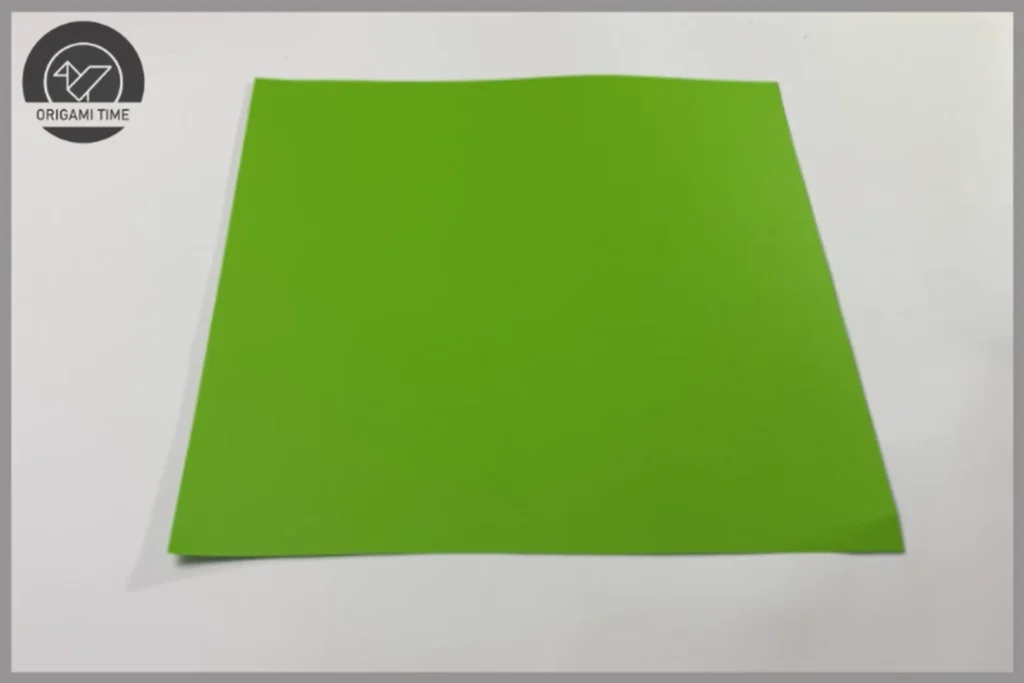
Step 1: Let’s start by taking a square piece of paper. How to Make Square Paper?
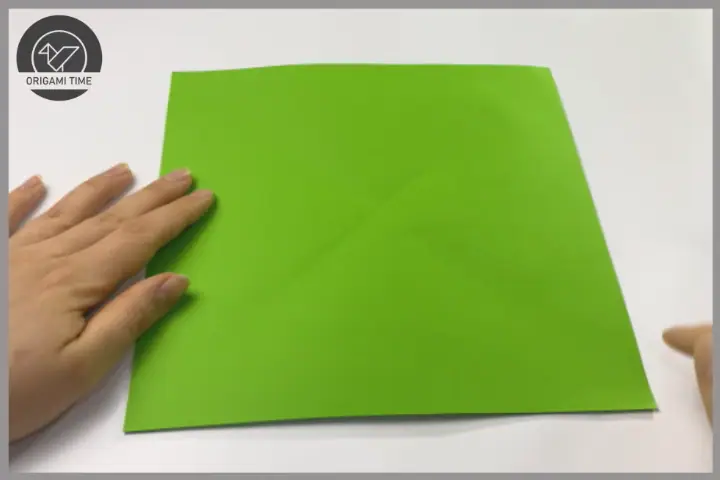
Step 2: To determine the center point of the paper, make two marks as shown. Do not fold the paper completely.
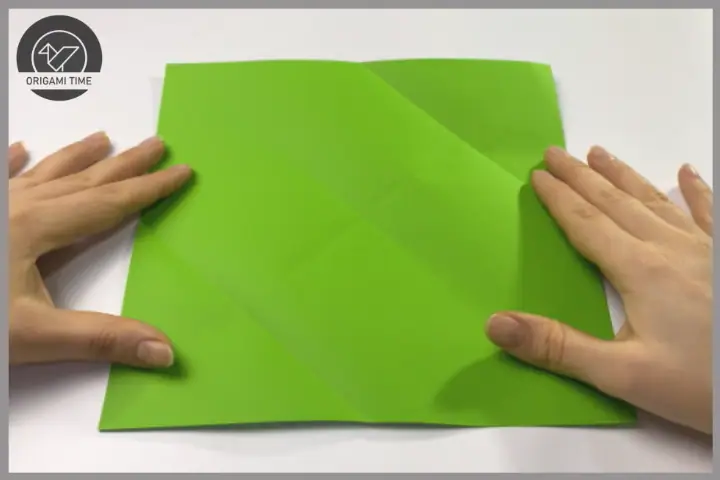
Step 3: Fold the right and left corners to coincide with the middle part.
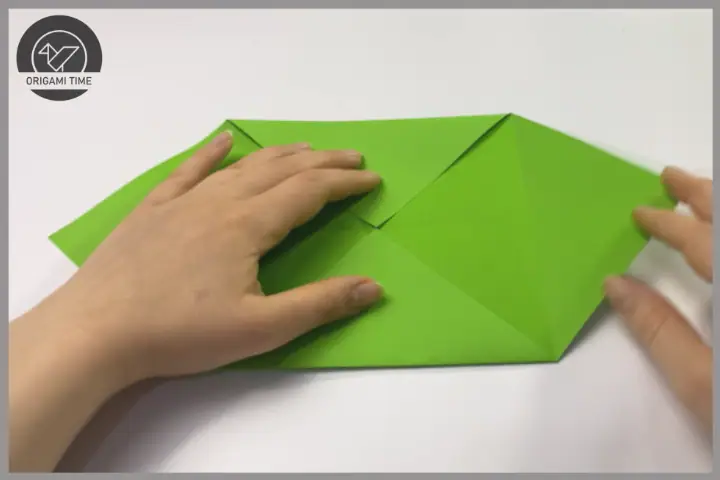
Step 4: Fold the 3rd corner in the same way
Step 5: Re-open the last piece you folded. Then fold the bottom corner, aligning it with the top line.

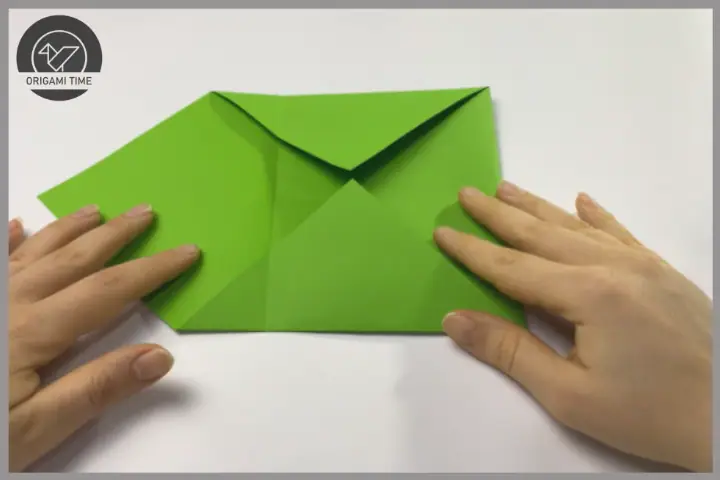
Step 6: Open the paper again. Fold the right and left sections as shown.
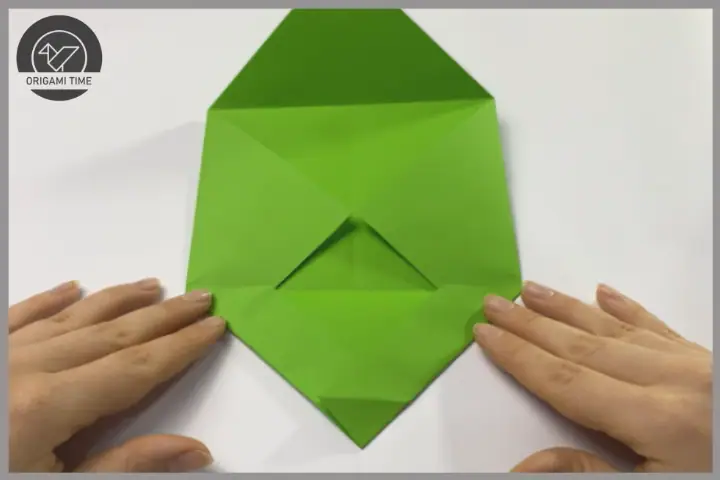
Step 7: Fold upward again. By aligning the right and left sides of the envelope. Fold a small piece back.
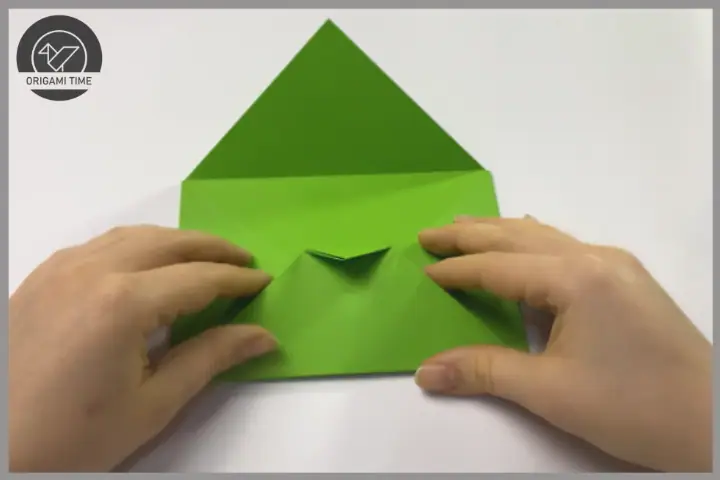
Step 8: Watch this part carefully :)
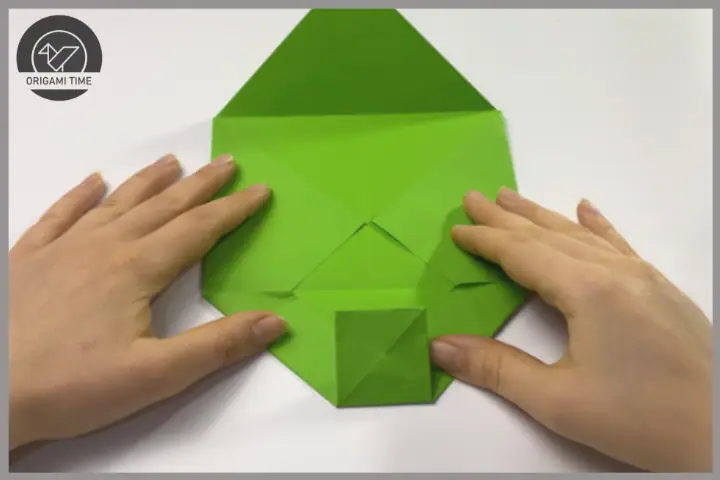
Step 9: Origami envelope nearing completion. Now close the right and left parts so that they fit into the section we created.

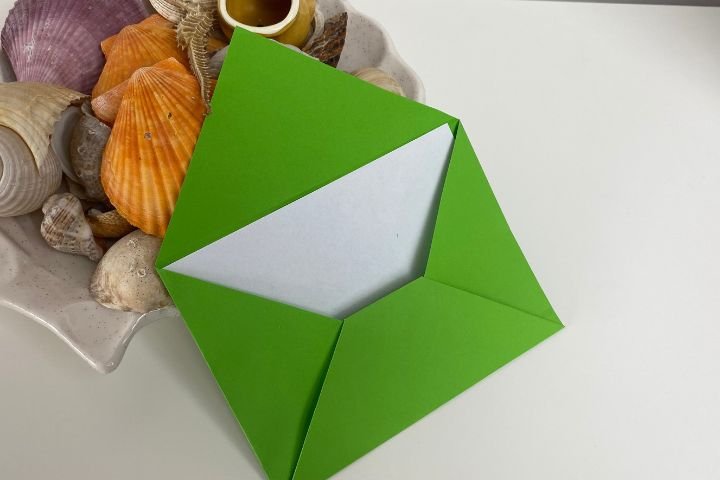
Origami envelope completed. For more origami models, you can check out the home page.